|
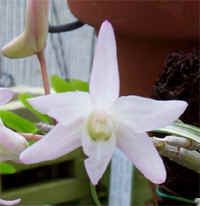
Potting Orchids
My suggestions for repotting an orchid would be as follows:
Await a point when the plant is not blooming. The best is right after the blooming has finished and the plant has the new growth beginning to immerge.
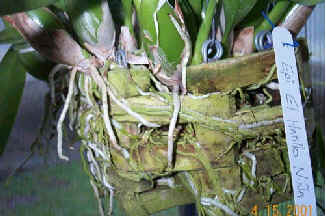
We like to get the roots very wet. Get them to the point that they are saturated with water. The roots will turn green and they will become pliable.
Remove the plant from the pot. If it is in a plastic pot push in on the sides to help loosen up the roots and compost. If you have used clay (as we prefer) you may need to run and old kitchen knife around the pot.
The next step is to remove all of the old mix. We also like to hose the roots off. The next step is to decide if the plant is large enough to be divided. You will want about a minimum of 3 pseudobulbs and preferably 4 pseudobulbs for most orchids. Determine the best place to cut the rhizome if needed and divide with sterilized cutters. We use cutters RED HOT (just off the torch). This will allow the cutters to cauterize as it cuts.
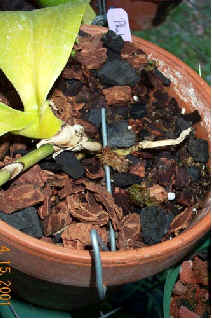
Next pull off any dead roots and get your new pot ready. At this point you also will need to decide on the mix to use. Keep the following in mind: Healthy plant: Mostly bark mix, some Sphagnum and Styrofoam Average plant: Mostly bark mix, about 25% to 50% Sphagnum and Styrofoam Not too healthy plant: Nearly all sphagnum and a little bark. Note also that many people used PURE Sphagnum moss on all of their plants and do very well with!
If you have them add about one layer of white shipping peanuts to the bottom of your pot (not the dissolving type). Then add some of the mix over the peanuts. Spread the roots of your orchid out wide (like your opened hand) and place a hand full of mix in the center of the roots. Wrap the roots around the ball of mix and place it in the pot. Fill the pot with the bark mix and pack it tight. Next use a pot clip or wire to attach the plant and to keep the plant from moving.
Write out a new tag for the plant and all divisions with a #2 pencil with the name on the current tag. Then enjoy your newly potted plant. It will not need it again for a year or two.
Happy Growing, Kevin Johnson
|